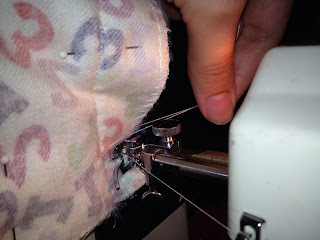
This is my first sewing project and luckily I had great supervision from my mother in law!
1) Cut your fabric the length you need. We went t Joann Fabric and they had this cute monkey panel so all we needed to do was find a color for the back and trim it down.
2) Place the "good side" of the fabrics together
3) Measure and cut quilting batting to the size you need. We actually stacked 3 sheets but they do sell batting in different thicknesses. This made this project a little bit more challenging.
4) Put your 2 pieces of fabric (with the print on the inside) on top of your batting
5) Pin your fabric and batting together making sure your pin is pointing to the end of your fabric or when you go to sew it you can break your needle on the pin.
6) When you start to run your fabric through the sewing machine you have to hold on to the string until the needle goes into the fabric and then you can let go. Let the machine pull the fabric (if you pull too hard your string will break and you will have to re-thread your machine...I did this twice!)
7) Run the fabric straight through, then turn your fabric to the next side and do it again. On one side sew to the middle and stop so you can create an opening big enough for you to get your hand in. When you are finished there will be an x in each corner. You want to cut the end off so you can make a pointed corner but DO NOT CUT THE X
8) Put your hand in the opening you created and gently pull your fabric through so that it is right side out. Iron all 4 sides of your blanket to help it lay flat.
8) Now you have to hand sew your opening and this part sucks! When you iron your blanket it will create a line that you can follow to close the blanket. The trick to this is to pinch both sides and sew on that line. Sadly it took me 5 minutes to figure this part out..
Now you are finished! Not too shabby for my first sewing project!


No comments:
Post a Comment